Home By Geneva >> Decorate Your Christmas Tree Like a Pro
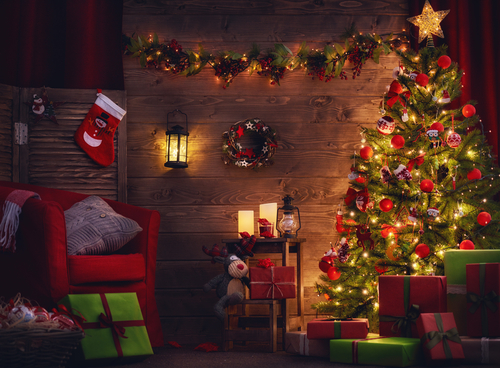
Decorating a Christmas tree is a time-honored tradition for families all over the globe. What better way to celebrate the holiday season than by cozying up with friends and family by a beautifully decorated tree? That is why we wanted to gift you with the tools you need to decorate your Christmas tree like a pro!
Let’s start off with the tools and items you’ll need to get the job done. If you have some lying around already, get creative and see what will work! It doesn’t have to be perfect, this is about making a tree that represents you. And you might just save a few bucks in the process. Keep reading to see our recommendations:
- Lights
- Garland/Ribbon
- Various ornaments (personal ones too if you want!)
- Tree skirt
- Topper
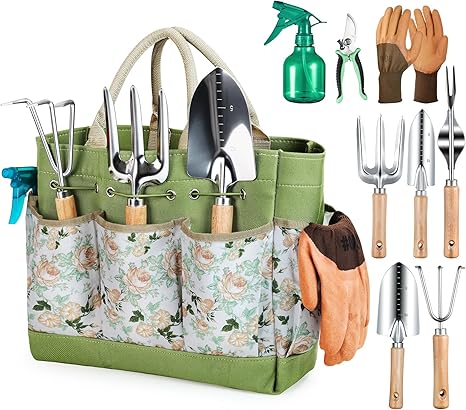
- Gardening gloves
- Fabric scissors
- Heavy duty scissors
- Step stool
Step 1. Gather the Family
Decorating the tree is a family affair by nature. Gather the people closest to you to take part in this special tradition and maybe make a batch of cookies and play some holiday music to set the vibe.
Step 2. Choose a Theme
Deciding the theme of your tree will set the stage for the rest of your decorations. Whether you like a traditional look, minimalist, maximalist, monochrome, or sentimental, choose what will best represent YOU. Be sure to look at how you have decorated the rest of your home, what items you already have access to, and the flexibility of your budget.
Step 3. Decide on Your Tree
Don’t let your Christmas Vacation-sized dreams make your eyes bigger than your living room when it comes to the tree. Be realistic about what will fit in your home and don’t forget to account for a tree topper and your front door.
You will also need to decide whether you are going to get a real tree or go artificial. Real trees take far more upkeep, only last one year, and may be a fire hazard, but nothing beats that smell of real pine! Real trees are also more renewable, recyclable, and produce fewer emissions in production. Choose the size, type, and theme that best suits your needs.
We do recommend staying away from trendy designs for artificial trees like inverted trees, overly sparse trees, or trees with artificial color. These trends are sure to fade out soon and you just might regret having it next year!
Step 4. Shop for Decorations
Now that you know the size and theme of your tree, it’s time to shop for decorations. You will need approximately 80 decorations for a 7.5 ft tree to decorate it properly. We recommend picking up lights, garland or ribbon, various ornaments of different sizes (but stick to one theme!), a subtle tree skirt, and a tree topper to finish the look. Picking a core color, like red, with neutral accents such as black, white, or nude, can instantly bring a sense of togetherness to your tree. Be sure to aim for color matching, even with metallic tones as trying to pair differing shades or saturations will be noticeable.
If you’re worried about where you’ll put your decorations for the rest of the year, we’ve got you covered with these holiday storage solutions.
Step 5. Prep the Tree
Bringing your tree home isn’t the final step before you start decorating. Prepping your tree through fluffing and shaping can make all the difference for a thicker, fuller, more natural-looking tree. Now is the time to put on those gloves to protect your hands from any extra pointy branches.
For both natural and artificial trees, start from the bottom and work your way up, slowly separating the branches from one another. Position each branch individually and don’t let it look too uniform. If you have an artificial tree, you might even want to bend the branches a bit to make it look more natural. For real trees, use the heavy-duty scissors and trim away any obviously out-of-place pieces.
Step 6. Decorate!
Arguably the best part, there is more strategy to putting decorations on a tree than you might think.
Lights
This will be your base layer and will be what makes your Christmas tree glow from the inside out. Start at the bottom where the lights will plug into the wall. Slowly wrap the lights around the tree, weaving them above and below the branches as you go. Once at the top, weave the lights back down to add layers.
Garland
Garland comes in all shapes and sizes. Our favorites to use are ribbon and beads. Don’t feel forced to stick with just one! Using a couple of different types of garland can add additional layers and texture to your tree. Start at the top and work your way down, ensuring your garland is closer to the tips of the branches than the lights.
Ornaments
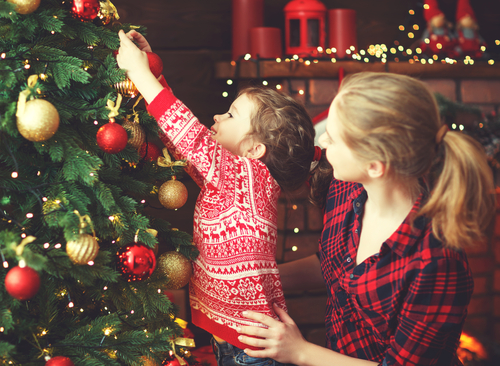
No matter your theme, good ornaments are a necessity. Once you have yours picked out and purchased, it’s time to start hanging them on the tree. Put the largest ornaments between the bottom and the middle of the tree, and the smaller, more delicate ones toward the top. Alternate colors, patterns, and finishes so that the tree looks balanced. Put your favorite or more sentimental ornaments on places where they will be seen, at eye level on the front of the tree.
Tree picks
This one is optional but can add that special touch that takes your tree from pretty to professional. Tree picks can come in many different styles from pinecones to berries to metallic branches. They are a great way to add a little color and dimension if your tree is feeling flat.
Tree skirt
If you want to perfect that HGTV Christmas cover look for your tree, a tree skirt is essential. Depending on your theme, we recommend a subtle color and pattern that won’t take away from the rest of the tree. Don’t forget to account for the size and type of tree.
Tree topper
The best step is saved for last! Hopefully, you accounted for your topper when picking out your tree. If you did, now it’s time to pull out the step stool and a loved one to keep you steady as you place it right on top.

The real way to finalize your tree is by lighting it with family and surrounding it with gifts and smiles. No matter the final results, that tree is yours and full of special memories you can take with you for next year.
Try out these other Christmas traditions in celebration of the most wonderful time of year.

